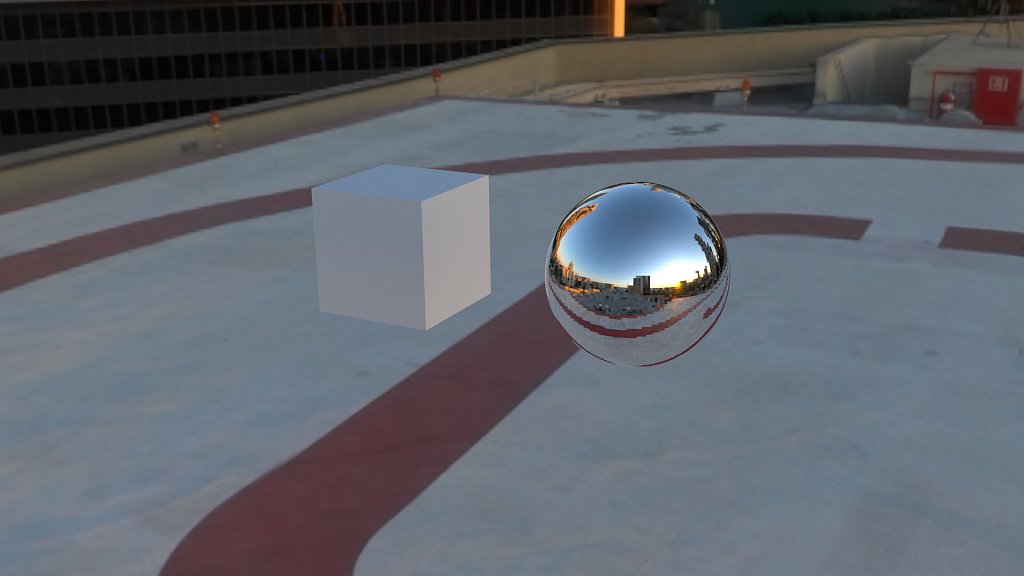
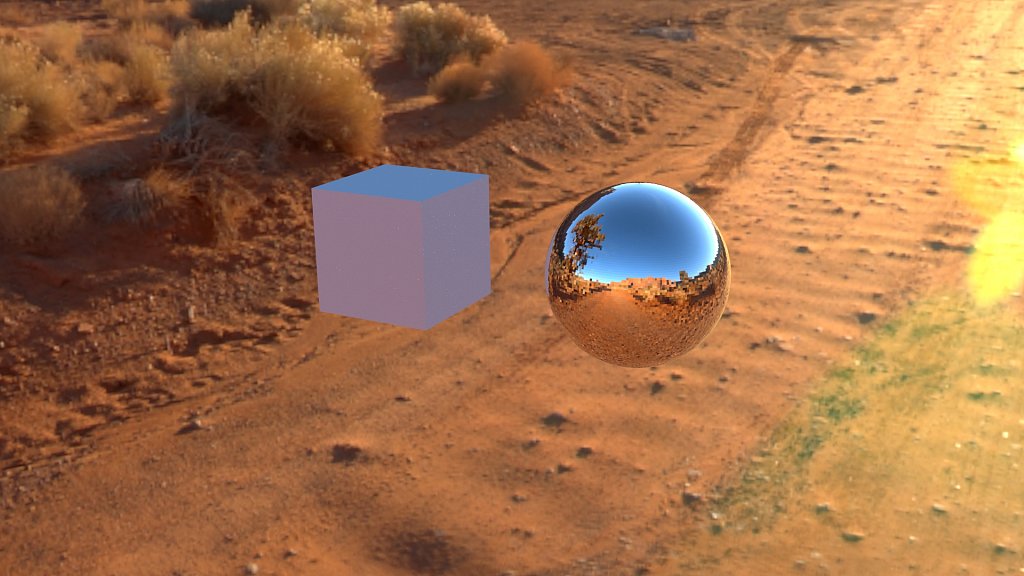
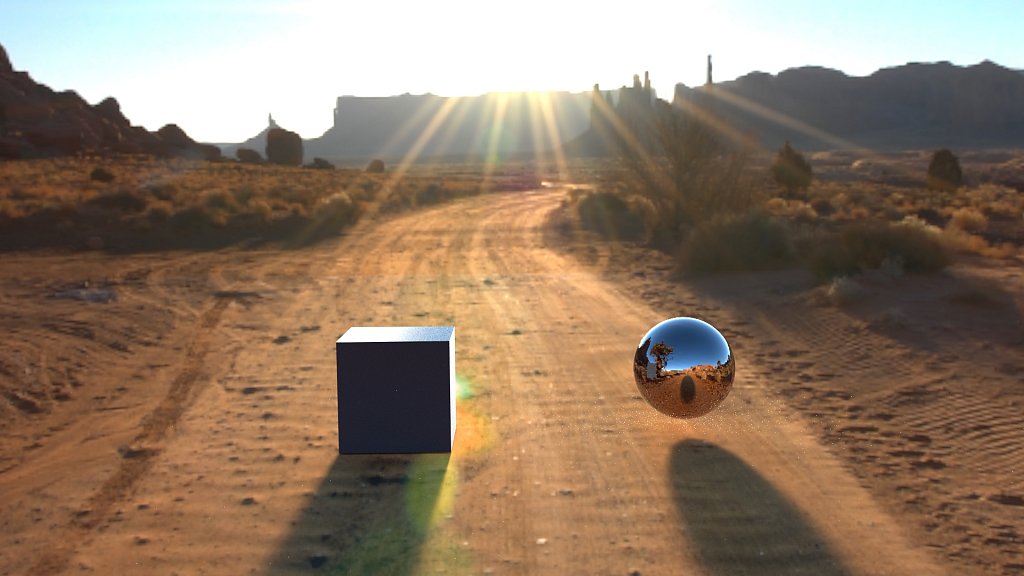
After my last meeting, my project has changed a bit, but moreso just on scale. So now instead of only thinking my photo shapes have to be small, or clung together, they can be models for something much, much larger. Going off of that, and off the different artists and architects I've been looking at, I'm making digital visualizations of my shapes being in an environment as a large structure. I've been reading and learning about everything that goes into that with the tools that I have, and have made a few simple tests so far. My first set of them are below, the environments I'm using are from online, I saw how to create them, but I'm not sure if i have the time to do all of that, or to get it working in time, so I do have some options. The last test I did I got it to look more grounded by setting up the shadows, and moving the camera around a bit.
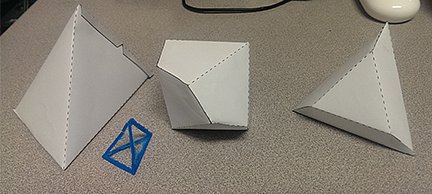
One of the new ideas for my project has been these more cage shapes to contain some of the others. This way instead of just having these abstract shape 'memories' floating on their own, they could be partially contained, and well as being outside of it. This was just one idea to test with, I would maybe add another side into it to add more vertical space to see into, or have it hang from the other direction. The other filled photo shapes could then either rest at the bottom of these, or still hang inside, underneath, and all around them.
I tried doing a 3D print with a makerbot after taking a bit to figure that out, to see if that would work for the cage shapes. Otherwise they would be pretty difficult to fold and keep together. Also, I think it would contrast well with a rigid structure against the shapes being not as much depending on the paper I use. The one part I tried as a test came out badly, and broke into a few pieces.
I also was talking with the Object Design people as well about using the laser cutter to cut the shapes out, and they said there shouldn't be any problems with that, or with lining the laser up to an already printed page as well. That way I can print out the images, and just laser cut the shape without having to use scissors for however many I end up needing.
I have also been fixing sizes of my shapes, so I can now build the shapes to the correct scale. I created a few so far that are 3 inches now. The previous sets were either scaled to fit a page size, and the next trial set was an inch big which was a bit small scale-wise to be able to see anything of. I could still have a some that are larger, but I think I found a good smallest size. I have tried to contact some of the artists whose work I'd like to find out about more, but I haven't gotten any responses yet.
Another thing I have been rethinking with is with the boxes again. I need to just try making a simple one and seeing if I like it.
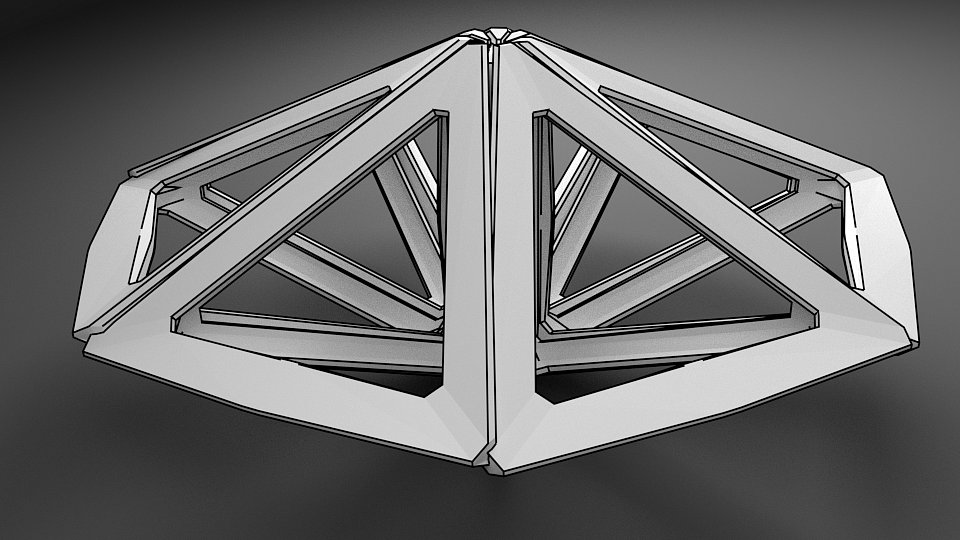
Digital Cage Shape
3 Inch shapes with broken blue 3D printed cage
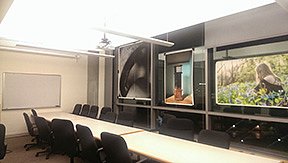
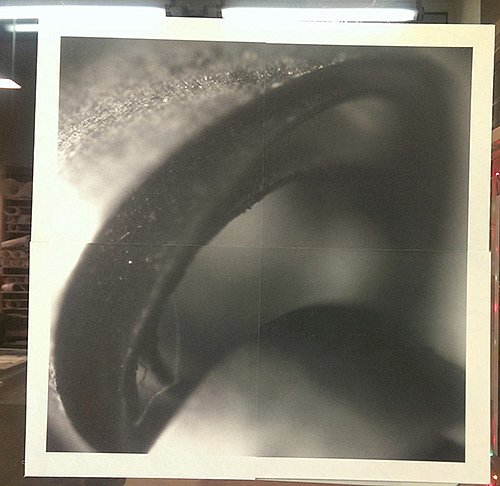
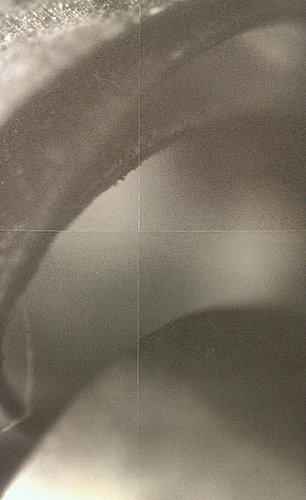
Large 82x82 Print taped onto the conference room wall.
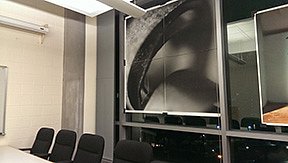
(Closeup) Large 82x82 print taped to the conference room wall.
This is what it looks like printed on the phototex being tiled and stuck together. I don't think the seams are too visible.
Phototex printed on the doorway from across the hall
Closeup of the seams
After figuring out some more problems, I did get the metal to print out, here's some images of what it looks like. I think I'd like to try using the clear-coat later this week to see if more of the metal through instead of just the white.
I've been messing around with seeing what/how to get some of my ideas going, so here's some results. For the wall mural, I wanted to try just to see if seaming the image is something possible, so for the square images, instead of just having a 40x40, it could go 80x80+ if it's sectioned across pieces that join together. I tried doing a small sample out of paper just to see how to print it out easily this way, and if it would look horrible. It wasn't that bad considering its low quality on copy paper, and I cut it with scissors.
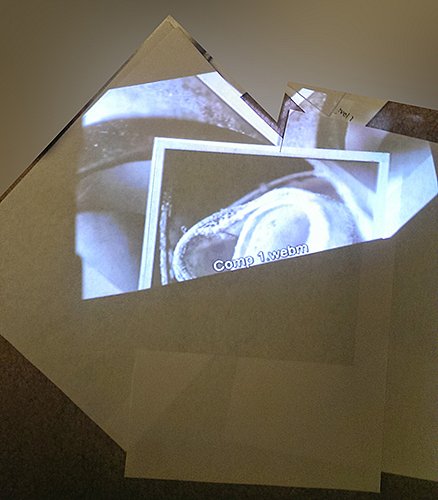
I also tried working on figuring out the whole projection part of my one idea. This time I did it a different way which works a bit better I think. I just used some sheets of paper to go on, and was holding everything while editing it all, so the scaling/sizes are a shade off, but it seems possible at least if everything is mounted solidly.
Collage Stuff: Seems like printing straight onto sheets of aluminum is the cheapest way to go using coats of inkaid. There are also precoated sheets that cost a lot more. Another thing is to do transfers onto the aluminum as well. Then the highest option of other some of the other printing methods, like dye sub, which is a bit off the scales, and undoable with what's available to for me to use. I also found this material called Chromaroll, but I'm not really certain about it. The basic summary is to get some aluminum sheets, sand them with steel wool, wash them with something to get the oils off, coat them a few times with the ink aid, and print to victory. If none of this works at all, I can always just use paper and mount it to the metal too I suppose, or just use canvas.
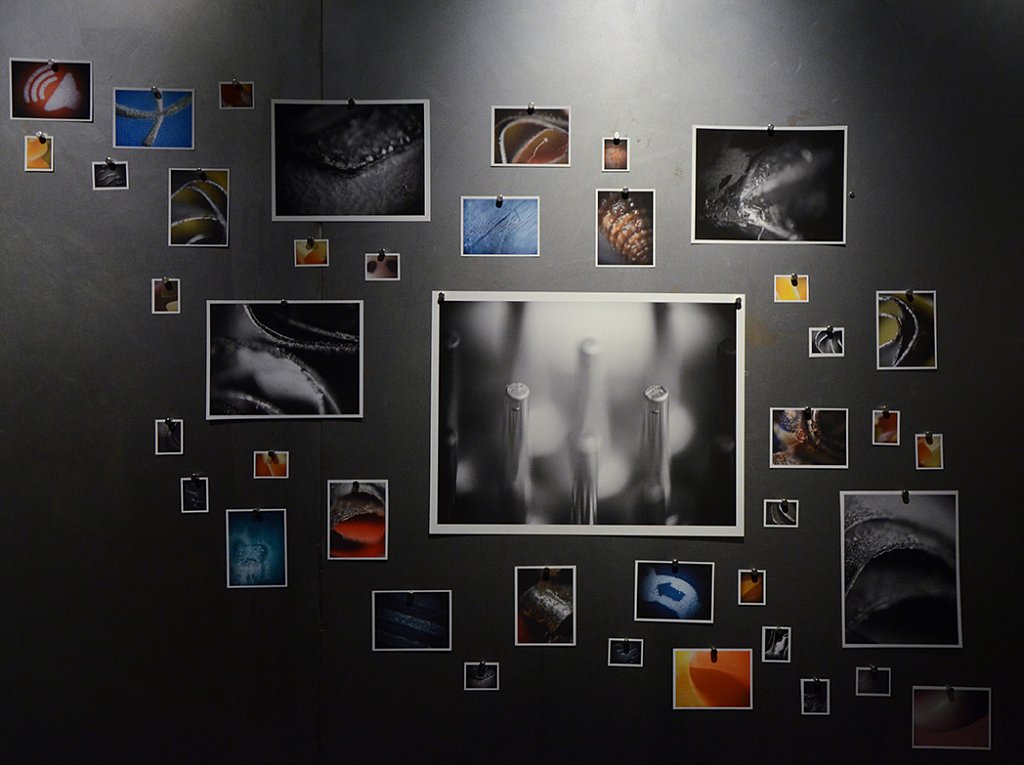
After going over everything in class, and talking with some people afterwards, I have some ideas that I think will work better by combining a few of them so that they will work together better. So in combining the sculpture with the collage, they can both work together instead of being independent ideas. So the collages on the wall can all be the fragmented abstraction images. Then the images that will be on the pedestal could then relate by being images containing the objects that I'm using for the fragments on the wall. Depending on what ends up working out, it could also be replaced by one of the book ideas as well.
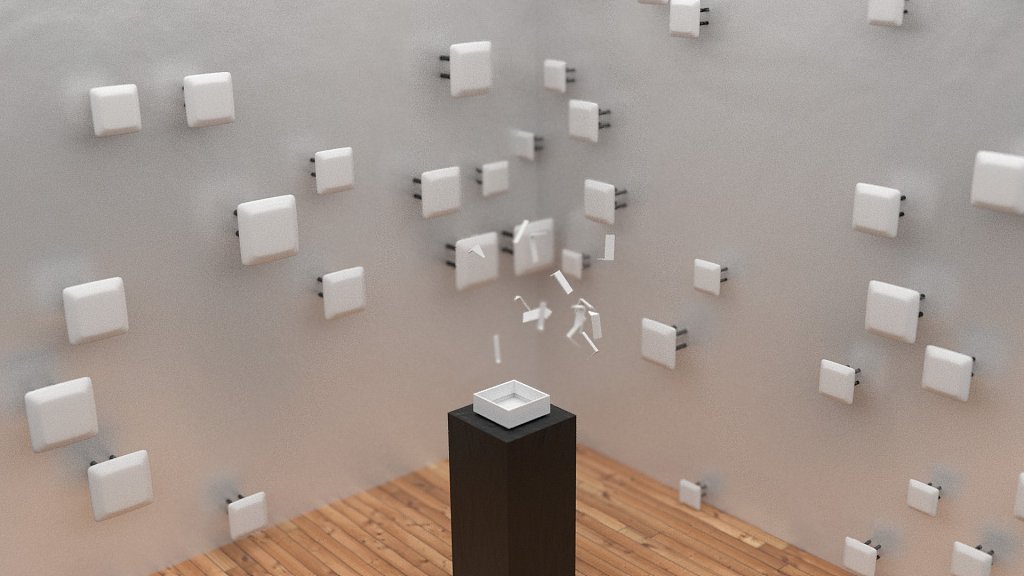
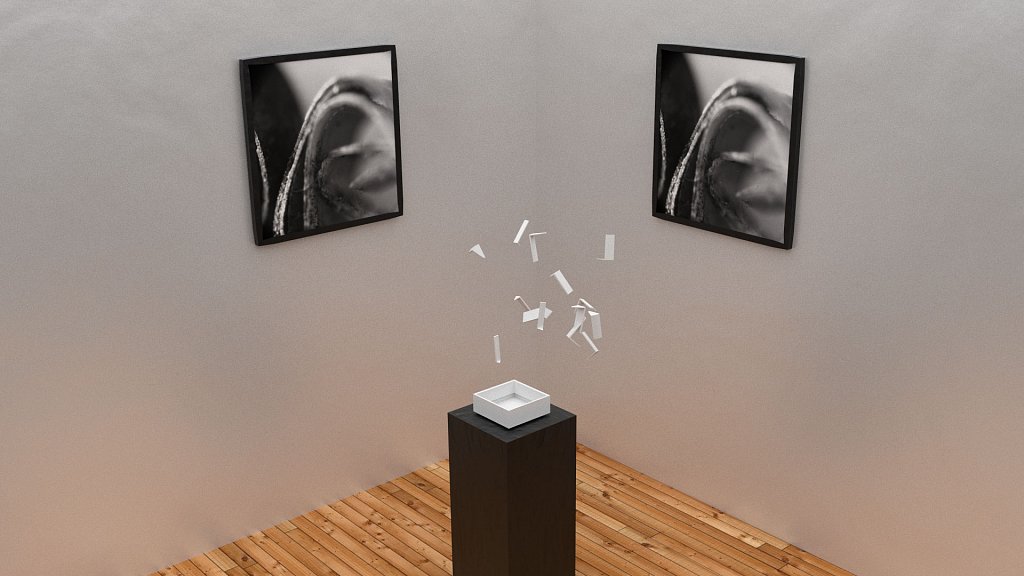
First Idea: Projected Sculpture Thing: Animation: This is an example I made trying to depict this idea, there would be a pair of images hanging on the walls on either side of a corner with a pedestal in the middle. There would be an object, maybe a book, in this case I am still using the chest idea continuing from last semester, that would be "exploded" out into parts and suspended by wire I suppose from the ceiling. Inside of the bottom of the chest I would have paper, or something arranged in a way that would look like a scattering of images at the bottom, and a projector would be used to place images that would be able to change and cycle through. The idea I had behind this was instead of forcing an interaction between the viewer and what I create, you'd be able to still see and experience things, though in a different way, just by watching and moving around a little. Though it does change some aspects of my prior ideas I think it's still interesting.
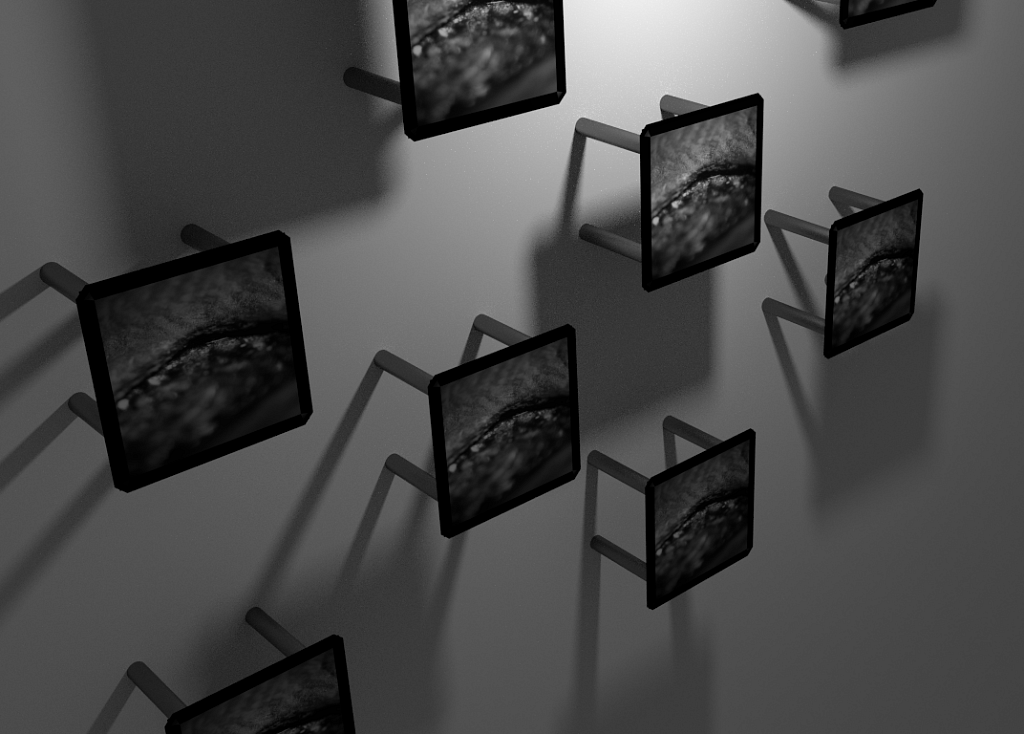
Second Idea: Wall Collage: The idea for this was to continue with the collage I was doing before and make it more three dimensional by placing the images onto panels that would be extended out from the wall at different depths. By doing this they would have more 'layers' allowing them to be read easier I think, and I like the shadows that are created by the structure too.
Wall Collage example
Third Idea: Abstracted Book: This is pretty simplistic in a way compared to some of the others, but it would be a nicely made book consisting of the abstract imagery I've been making. I liked George's book from last semester of his images, and how they went together well, and I think having a consistent look/theme would apply to this group of mine.
Fourth Idea: Handmade Book: This is a continuation of an old project I was working on last year, which was a small 6x6 book that I made myself. I used stained paper and Polaroid transfers to get the images inside, and wrote on the adjoining page about the image and why it was important to me, or the meaning behind it, like a photo journal.
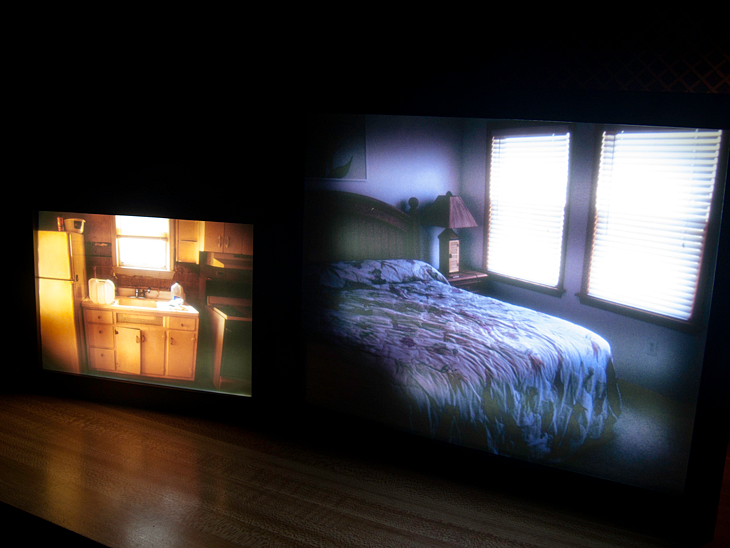
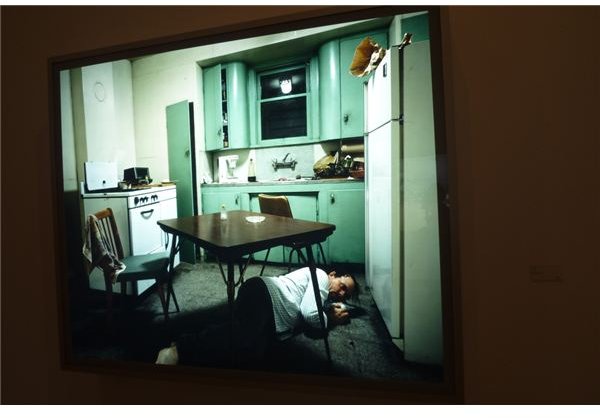
Fifth: Lightboxes: This is another continuation from an old project, where I made small back-lit frames to display images with. I got this idea from seeing Jack Wall's work in class, and liked how they portray the space in his images.
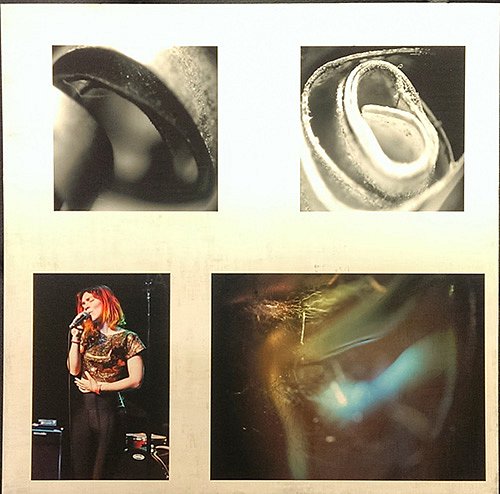
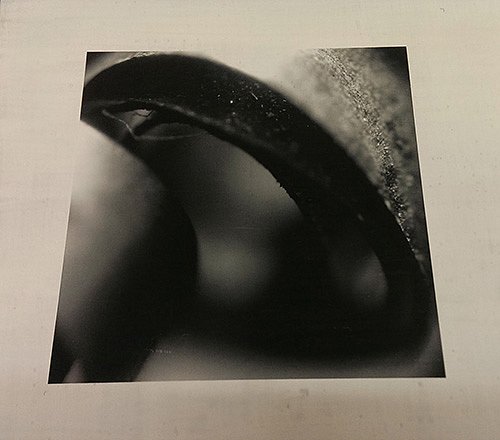
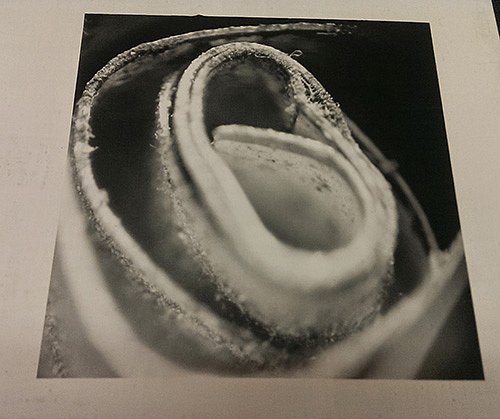
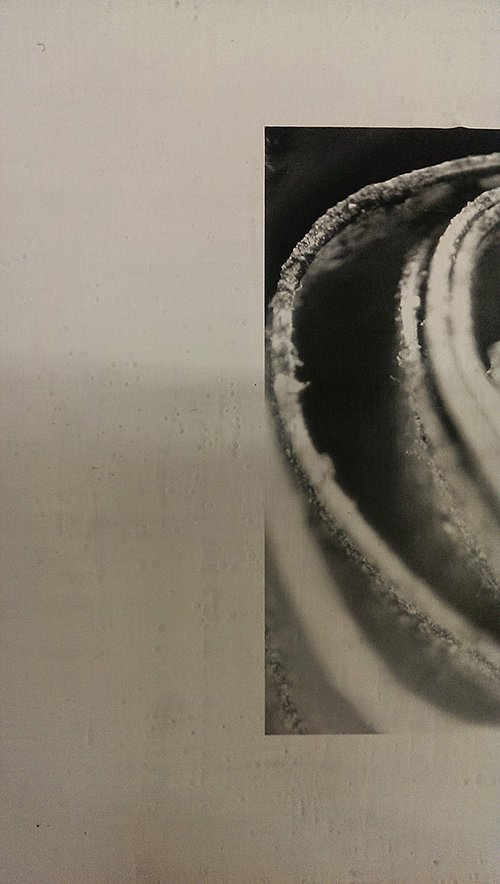
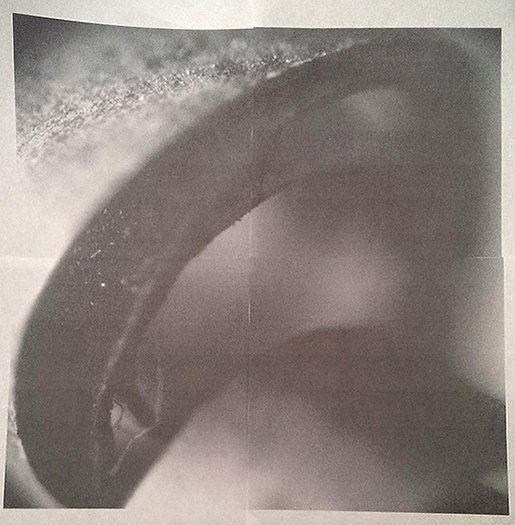
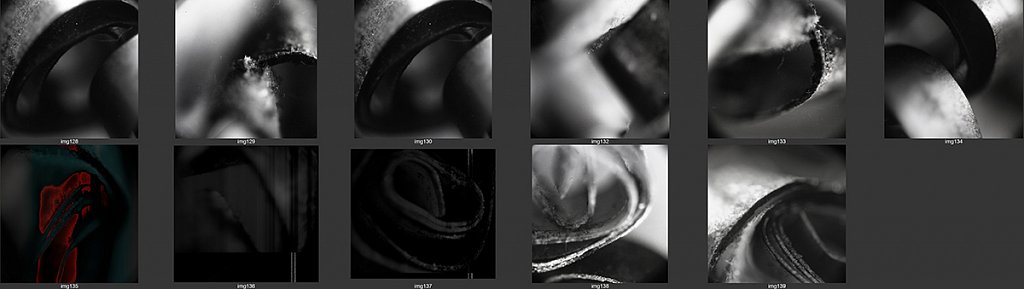
I was originally thinking to try one of the abstract images I made towards the end of last semester to use as my large print, but after a few tests it just wasn't working out because of how much it had to enlarge, from my digital camera. I then tried printing one a scanned film image I took for a class last year that I was interested in seeing how the texture would work with the image on a bigger scale, which was pretty interesting. I kept trying as well to make the abstracts work well, so I tried a bunch of ways to get them to work through film, using my equipment, as well as the bronica sq-a, which almost ended up working a bit too well. I've only done one test roll so far but the results I think are pretty workable, especially on medium format film, there wont be any issues enlarging it.


